Tuesday, September 21, 2010
Saturday, June 5, 2010

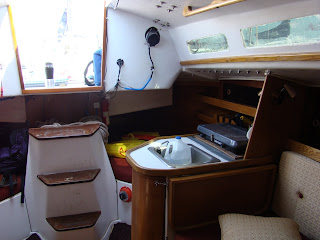
I made a table from the origanl specs. I used 3/8 scrap plywood to make it lighter. The table was made from scraps leftover from previous projects. I had one post cut off in the bilge. A piece of 1 7/8 (I think) PVC pipe fit nicely. For the one with out a sleeve I took the next size up, cut a piece about 10 inch long. Then I cut a 1/4 vertical strip out. When squeezed together it fit nicely. PVC is really not stiff enough to use a table legs.

I also added a sail caradle to handle the main. It is stored against the mast when not in use. When single handing you still have to leave the tiller to deploy the cradle, but the sail should drop reasonably neat by it self. We wil see, I have not had a chance to try it yet. Tomorrow is the first race and as usual it seems I'll be sailing short handed again.
Wednesday, May 5, 2010


On the left is the old look. On the right I added burgundy to the cabin sides. I mixed Pettit red with Pettit Burgundy.While I was at it I repainted the stripe behind the name. I tried roll and tip, but I did not like the brush strokes it left. So I went with just rolling. I t came out fairly smooth. If I decide to get ambitous I'll wet sand. But let's face it the boat is 30 years old and will never look new.

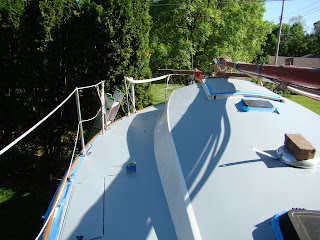
Cockpit is finished. I repaired wet core. Painted the vertical surfaces with Pettit semi gloss white. The horizontal surfaces were painted first with Interlux gray anti-skid. I found out the hard way that this is really hot in the sun and was reminded how hot when I was taping the surfaces prior to painting. So I covered the dark gray anti-skid with Pettit pearl gray top coat. While I was at it did the rest of the deck.
Monday, March 15, 2010
Subscribe to:
Posts (Atom)


